If you’re eager to get started on your garden before the weather warms try building a growing table in your home or basement. I grow in zone 7a of the Northeast, so my planting times and experiences may vary from yours.
Part I: Build a growing table in the basement so that you can start planting seeds for vegetables/flowers.
How to build a growing table:
Supplies:
[1] 3/16” drill bit
[2] 2” by 2” @ 10 feet long
[6] 1” by 2” @ 8 feet long, (buy 8 if you wish to make a storage self at the top)
[32] #10 24 x 2.5”” screws/nuts (Add 8 for shelf)
[4] 4-foot long 2-light fluorescent light fixtures
[1] 10’ x 25’ roll of 3.5 mill plastic sheeting
Cut each of the 2” by 2” pieces of wood in half (this gives you the four posts).
Mark each of these posts at 6”, 28’, 50”, and 56” (for storage)
Cut each of the 1” by 2” into lengths of 51” and 22” (you will have 6 of each). Save the left-over pieces.
Measure 1.5’’ from each end of the 22” pieces, mark that spot, and then drill a 3/16” hole at the center.
Measure 3/4’’ from each end of the 51” pieces, mark that spot, and then drill a 3/16” hole at the center.
On the floor or a work bench place 2 of the posts 17.5” apart. Place a 22” piece at the underside (closer to bottom of post) of the 6” mark on each post. Make sure the 22” piece hangs over ¾” on each side. Using the drill hole as a guide, drill a hole through each of the posts. Place a screw in each hole and tighten the nut. Repeat this process at the 28” & 50” marks and at the 56” mark (if you want a shelf). Always make sure that the posts are 17.5 apart. To help keep this section square, turn it over, cut a piece of left-over wood to 1/32th of an inch longer than the space between the two posts and squeeze it into the space behind one of the 22” pieces.
Repeat the above process with the other set of posts. (Call both Section A)
Now stand the two “Section A” on their long side (post on the floor) with the 22” pieces facing inside. Place a 51” piece at the underside of the 22” piece at the 28” mark. This should look like the letter H. Keeping everything square with the 51” piece tight to the 22” pieces (clamp if possible). Using the drill hole as a guide drill a hole through each of the posts. Place a screw in each hole and tighten the nut. Finish attaching 51” pieces at 6”, 50” & 56” (if shelf) marks. Carefully flip over and attach the remaining 51” pieces in a similar manner. Stand on the four posts with the 6” mark near the floor.
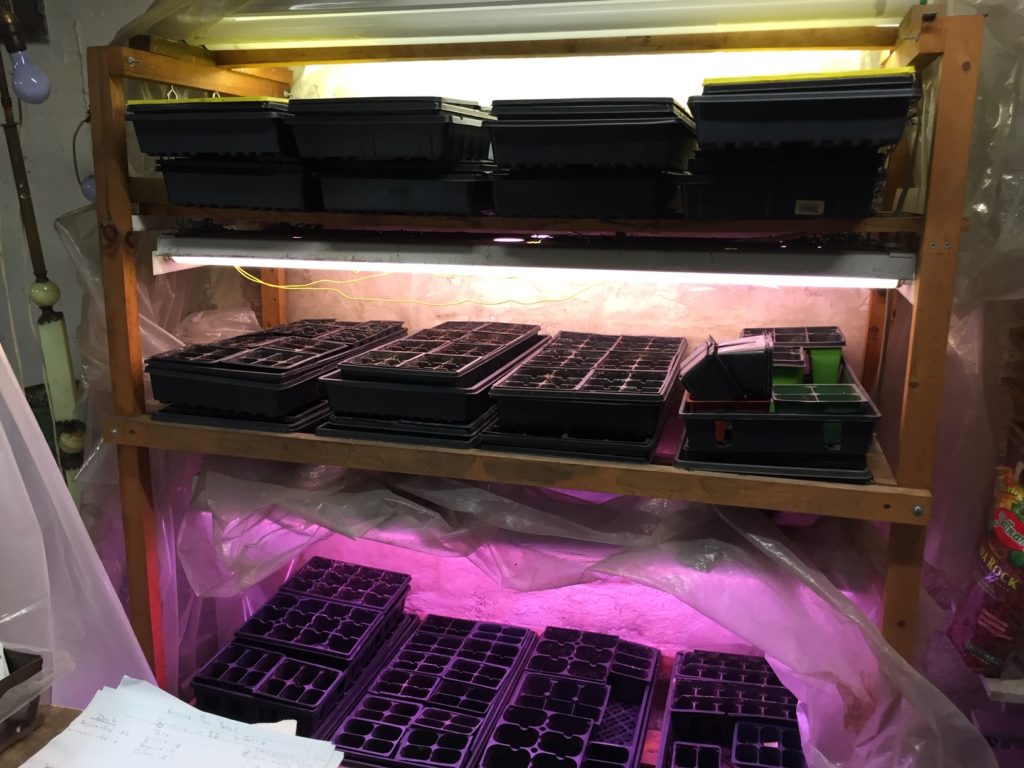
Using the chains provided, attach two fluorescent lights just below the 50” mark and two fluorescent lights just below the 28” mark. Or you can add additional 22” pieces at underside of the 23.5” and 46.5” measurements, from the floor, on the posts. The lights can rest on those pieces (I would attach the chains just in case the lights move).
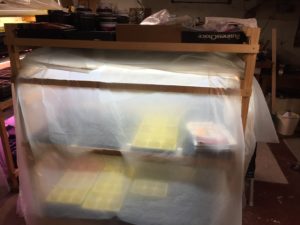
Unroll the plastic but do not unfold. Measure 60” and cut. Measure 24” and cut. Place the 24” piece over the top, side to side, and unfold. Place the 60” piece over the top, front to back, and unfold. Plug in the lights and you are ready to plant. You can place 4 flats at the 6” and 28” marks.
I usually put start seeds at the 28” level because the lights just below will supply an even supply of heat, which will help germination.
Part II: Indoor Planting Schedule
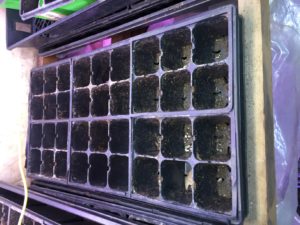
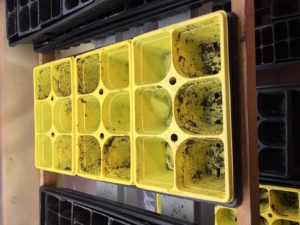
You have to know the growing cycle of the vegetables/flowers that you grow. I will state my schedule in the hope that you get a sense of how I plan my garden. For single containers, I use the plastic containers that contain berries which are sold at the food store. They have a cover and holes in the bottom for drainage.
January 15th: Plant, in single containers, seeds for Begonias and New Guinea Impatiens. These flowers require 10 to 14 days to germinate and another 14 to 20 days before you can transplant into individual cells. This produces 2 to 3-inch plants that are ready for Mid-May planting.
February 15th: Plant, in single containers, seeds for cool weather crops (Cabbage, Red Cabbage, Broccoli, and Cauliflower) and slow growing crops (Eggplant, Red Peppers, and Ghost Peppers). These germinate and grow at different rates, so beginning in about 10 days, you can start to transplant into individual cells. The cool weather crops will be ready for planting in late March or early April depending on the weather. Plant, in single containers, Tithonia Fiesta del Sol (an orange flower). You can transplant into individual cells in three weeks.
March 15th: Depending on the weather, move the cool weather crops outside into a cold frame. Plant, in single containers, seeds for all varieties of Tomato, Leek, Basil, Parsley, Coleus, and Salvia. Plant, in individual cells, seeds for Zinnia, Marigold, and Sunflower. Roto-till the garden (see preparing the garden below).
April 1st: Plant, in individual cells, seeds for Zucchini, Spaghetti Squash, and Cucumber. Transplant Tomato, Basil, and Parsley into individual cells. I leave the Leek in a single container because I find it easy to plant them, individually, directly into the soil.
March 25th to April 10th: Depending on the weather, plant both Cabbages, Broccoli, and Cauliflower in the garden under a growing tent (see below). To plant when using fabric, use a utility knife to cut and X in the fabric, fold back the fabric triangles created, and plant. Place the cover over the frame and secure it to the ground with bricks/slates. CHECK the tent daily. If the day is very sunny, open at least, one end of the tent during midday (avoid over heating during the day); then close the ends 1 to 1.5 hours before the sun sets (keeps it warm at night). Water every 3 days.
May 10th to 20th: Depending on the weather, I take down the growing tent and plant all remaining vegetables and all the flowers.
August 1st: I plant my String Beans at this time so that I have a fall crop of beans at a time when other vegetables are no longer producing very well.
I hope you find my gardening experiences useful.
Part III: Preparing The Indoor Garden
 Early to mid-March: I look for a period of 3 to 5 days of dry sunny weather. This will allow the soil in your vegetable gardens to dry out. I Roto-till the gardens and cover them with landscape fabric. This is the perfect time to correct any nutrient imbalances that you have in your soil (if you tested during the winter). Once this is complete, I set up the hoops and frames for the growing tent (see below). I do not cover the frame at this time because it is easier to plant the cool weather crops if the cover is not in your way.
The Growing Tent: Purchase Semi-Circular (about 60% of a circle) hoops that are 31 inches across at the open end. Recycle the rectangular frames from political signs that line the road ways. Important: rectangular frames are always set in the middle of and at right angles to the hoops. Begin with a hoop, then alternate rectangular frames and hoops, and end with a hoop. Use twist ties to hold the hoops and rectangular frames together. I found that the hoops tend to fall over if they do not have the rectangular frames to hold them in place. For the cover I use 3.5 mil plastic sheeting. Unroll the plastic, but do not unfold, to a length of eight (8) feet longer than the distance between the first and last hoop. This will give enough sheeting to cover the ends. You can secure to the ground with any objects such as bricks, slates or long pieces of wood.
Part IV: Collecting seeds & closing up for the winter
The first tomatoes: I place a plastic food storage bag around the first ripe tomato of each type. DO NOT cut the stems, but close the top as much as possible to prevent water from entering the bag. I cut three holes (each end & middle) in the bottom of the bag and hang it on the plant with large paper clips. I leave it hanging until it has dried out. Then store the seeds for the winter.
Flowers: During late summer and early fall I continually collect seeds from all my flowers. I have found the internet to be a great resource when trying to find where seeds can be found in almost any plant.
Store all seeds in a dry dark place
(ie: put them in a shoe box in the furnace room)
Roto-till the garden: After all vegetable plants have been removed from the garden I roll up the landscape fabric and recycle it for next year. I usually get 2 to 3 seasons out of the fabric. I then roto-till in compost material collected during the summer and early fall along with leave that have fallen from my trees. I avoid the oak leaves. Collect a soil sample before you roto-till and have it tested or self-test during the winter.
Caring for flower pots and planters: I remove flowers from my pots and planters by cutting them at the base. I find that this creates less mess and I can remove the roots when I plant the next year. I try to store most of my pots and planters in my shed. This lets them dry out during the winter, lessens the effect of cold and freezing weather, makes it easier to remove roots while preparing the pots and planters next spring.
Visit our vegetables seeds or flower seeds supplier categories to find seeds for any plant mentioned in this blog.


