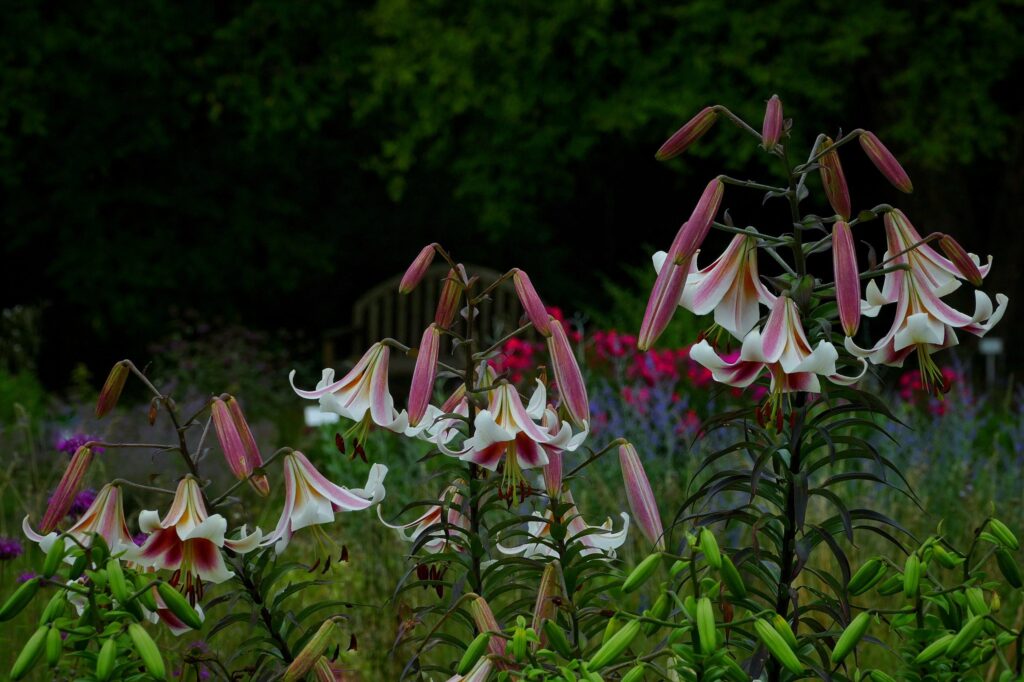
Daylilies are native to Asia, but have been widely cultivated in Europe since the 1700’s. They are a very popular cultivar in the United States and around the world. They are not lilies, but are a different genus of plant. A good rule of thumb to tell the difference is that lilies, in the Lilium genus, have bulbs, and daylilies, in the Hemerocallis genus, have roots. Daylilies are beautiful in the garden or in flower arrangements. The flowers are short-lived, usually lasting one day or so (which explains the name). These flowers do bloom for an extended period, and some will rebloom over a growing season.
From the bottom to the top, daylilies have several identifiable parts. Basically the plant consists of the roots, the crown, the leaves, the scapes, and the flowers. The crown is the point where the roots meet just below the surface of the ground, and the leaves and scapes grow out of the crown. The leaves fan out at the base of the plant, and the scapes are stalks that grow tall and support the flowers.
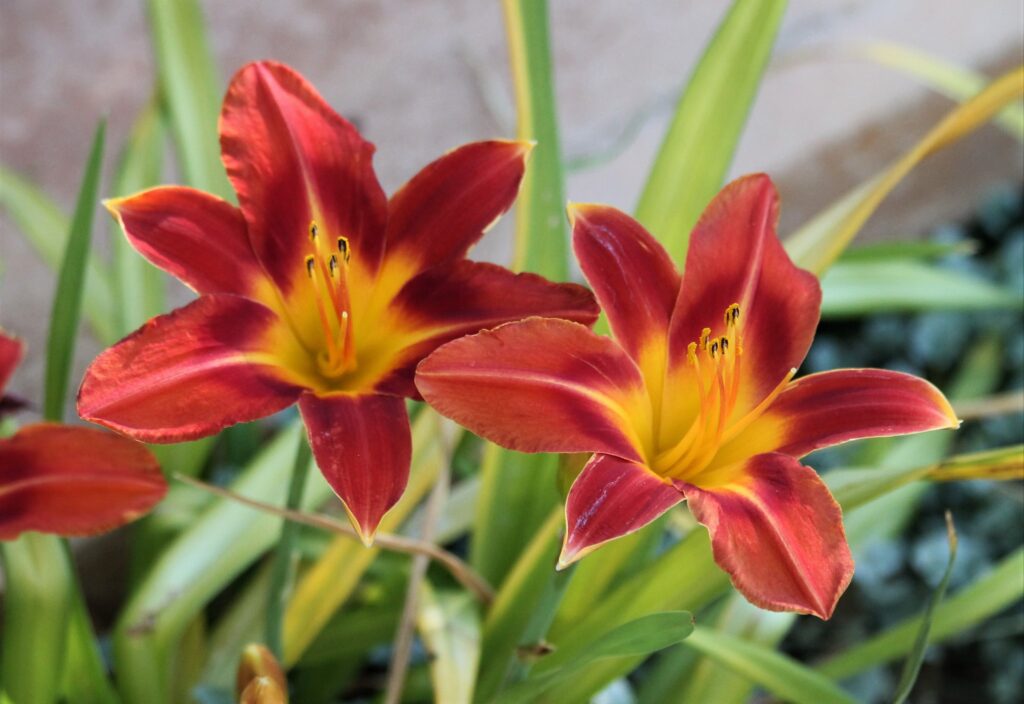
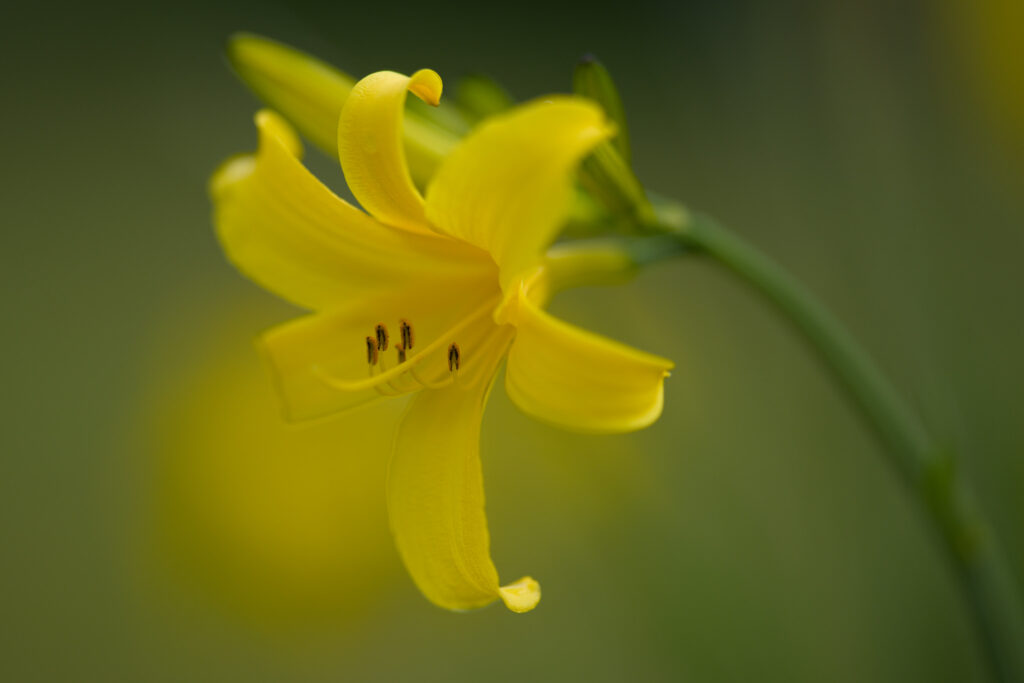
The different varieties of this gorgeous garden flower range in color from white, through yellow and orange, and all the way to pink, red, and purple. Choosing the variety of flower you want for your garden depends on the colors you want, the size of your garden space, your climate, and the size of the plant needed.
Daylily Categories
There are a few main categories of daylilies, all with varieties of different colored flowers:
Dormant daylilies are the most common type. These do much better in colder climates. In the fall, these will die back and stop growing. They then regrow and bloom in the spring or summer. They will also bloom in warmer climates, even for a few years, but they do need the dormant period for best health. They will stop blooming after several years if not allowed to go fully dormant.
Evergreen daylilies, in contrast, are best suited for warmer weather (zones 8-10).The flowers will only bloom during the blooming season for the specific variety, but the leaves stay green all year. In colder climates they can do pretty well, but the leaves can be damaged by freezing temperatures.
Semi-evergreen daylilies are basically between these types. They can go mostly dormant in cold winters and rebloom in the spring, or stay green in warmer climates.
Dwarf daylilies (sometimes called miniature daylilies) can be evergreen, semi-evergreen, or dormant. While most daylilies grow flowers two to four feet in height, these smaller varieties are in the one to two foot range. This makes them great for garden borders, smaller growing areas, or containers.
Reblooming daylilies are dormant types, and they have the nice feature of blooming several times, from late spring, throughout the summer, and into the fall right up to first frost.
- Hemerocallis
- Perennial
- Full sun
- Fertile, well-drained slightly acidic soil (pH 6.0 to 6.5)
- Plant 18″ apart
- Growing in containers:
Start single plants in a large pot, at least two gallons in size, larger is better
Ensure good drainage
- Water new plants regularly, when the soil is dry. Established flowers do not need excessive watering in the garden.
- Climate Zones 4-11 (2-11 for some varieties)
Planting Daylilies
Daylilies can be planted in the garden after the last frost of spring, or six to eight weeks before the first frost of fall. Usually daylilies are planted from splits from existing plants, or purchased from a supplier. Start a plant that is potted directly in the garden, space about 18 inches and make sure the plant is not root bound. Bare rooted plants should be soaked in water first, then planted carefully, with the roots spread out in the planting hole. A small mound is useful to help spread out the roots completely. Water thoroughly immediately after planting. For fall plantings, mulch carefully around the base of each plant and over the garden bed to keep the roots protected. This will keep the soil somewhat warmer over the winter. They can be started from seed as well.
These are versatile plants. They are low-maintenance, disease and pest resistant, and will do well in most soils. The best growing condition is a loamy and fertile well-drained soil that is very slightly acidic or neutral. Full sun is best but they will tolerate partial shade. They are resistant to drought but the flowers will bloom better with regular watering.
Container planting is a bit different. A good sized container is needed, 12-18 inches in diameter, and ranging from 3 to 6 gallons in size, depending on the size of the particular variety. It is much easier to grow dwarf varieties in a pot, rather than a full-sized daylily. The pot should drain well, and the plants will need watering on a regular basis. After planting (or replanting), water them daily for a few weeks, then at least twice a week. The soil should be good fertile potting soil, with some good compost mixed in to enrich the soil.
Fertilization can be done if desired. The pots should be kept outside in most cases from spring to fall. They can be grown inside if needed, but they will require much more care to ensure sufficient light and water. Dormant daylilies should be brought inside and kept stored carefully in an unheated area during the winter, to keep the roots and crown safe from the cold weather.
Daylily Companion Planting
Baby’s Breath, Bee-balm, Black-eyed-susans, Echinacea, Lavender, and Yarrow are all great companion plants for daylilies. These plants have similar soil and growing requirements and will not compete with daylilies for soil nutrients, and provide a nice color complement or contrast with this colorful flower. Lavender is a good choice to plant nearby especially, since the strong scent attracts both aphids and ladybugs. Aphids are one of a few pests that can be troublesome to daylilies, and lavender can draw these away from the flowers, and the ladybugs will keep them under control.
Daylily Pests and Diseases
Daylilies will do well in most climates. This is a hardy plant that is pretty disease and pest free. As already mentioned, aphids can occasionally be a problem. Also, thrips, nematodes, slugs, snails, and spider mites can cause some problems. Thrips are very small, and hard to see. They can cause yellowish streaking in the leaves and flowers. Parasitic nematodes can spread disease, slugs and snails will eat leaves, and spider mites can also cause streaking and damage, especially in warmer weather. A good quick sharp spray of water on the leaves can remove spidermites. Snails can be removed by hand, and diatomaceous earth scattered around the base of the plant can completely prevent slugs and snails. Fungal diseases like leaf streak and daylily rust can be an issue, though daylily rust will usually not overwinter in colder climates. Fungal issues can be prevented in most cases by watering at ground level, rather than overhead watering. This is a good way of keeping most plants disease free. A good ground-soaking hose, and some space between plants is usually one of the best ways to prevent most diseases.
The easiest way to produce new daylilies is to split the plants. It’s best to do this every four or five years, to keep them at a manageable size. Once the plant has finished blooming for the year, but well before the first frost of fall, dig around the base of the daylily and carefully remove the entire plant, keeping the roots intact. Soak the roots in a large bucket of water and rinse off the soil completely. Carefully separate the crown into four parts, each with several roots and healthy leaves. Trim the leaves back to about 6 inches in length, and replant each section immediately. Be sure and mulch for this fall planting!
Planting Daylilies from Seed
If desired, daylilies can also be planted from seed. Most daylilies are hybrids, and the seeds will not breed true to the parent, but they will easily grow and it’s fun to experiment with cross-pollinating different varieties as well. Using a paper towel (or a brush or swab), carefully remove some pollen from the stamen of the flower on one plant, and put some on the pistil of the flower of another plant. Do this on about 10 flowers, and seed pods will start to grow on a few of them. Once the seed pods dry and turn brown, pick it and store it until spring of the following year. They can be started indoors in early spring and transplanted outside, or started directly in the garden, after the last frost.
This beautiful, easy to grow, disease and drought-resistant colorful flower is a perfect choice for nearly any garden!


Contact Author
 info@gardensavvy.com


Recent Posts
- Smart Gardening: How Technology Is Revolutionizing Horticulture
- Understanding Gardening Zones: What You Need to Know
- The Right Tools For Your Gardening And Landscaping Needs
- Maximizing Your Harvest: Square Foot Gardening Chart for Beginners
- Holiday Garden Scents: Plants for Natural Aromatherapy in Your Home