It’s so exciting to watch your tiny seeds begin to sprout after a few days of freshwater and sunshine. As they start to grow, they stretch and require space, which brings up the topic of thinning out seedlings.
It scared me a bit once I realized how much gardening meant to me, but it’s not impossible to learn. Check out what I wish I’d known about thinning seedlings so you get it right on your first try. It could be what you need to grow a happy, healthy garden this year:
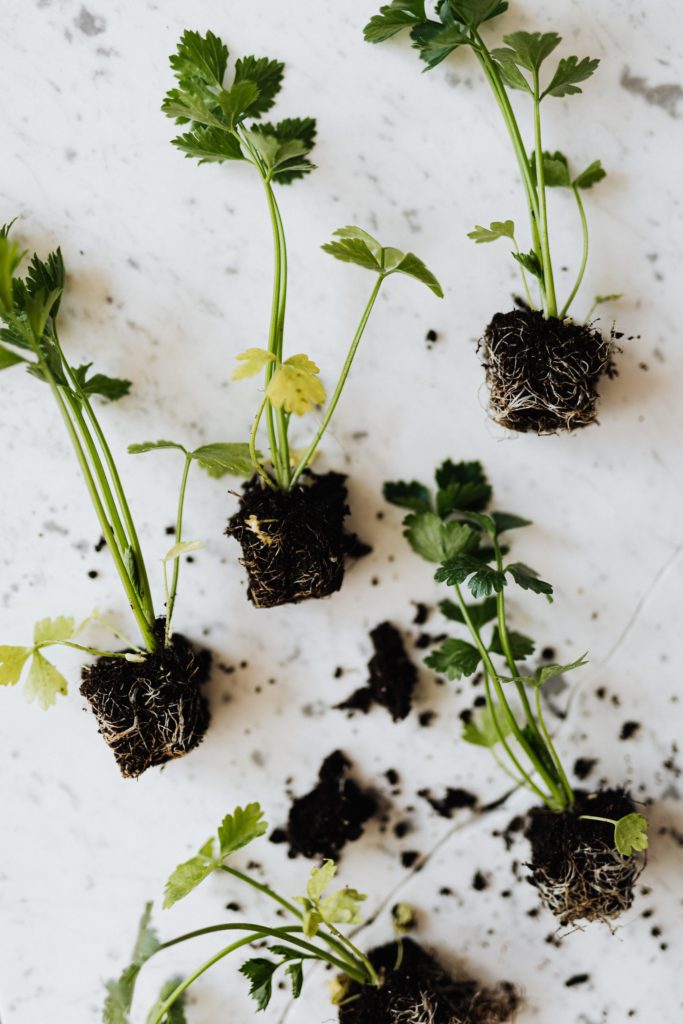
Crowded Seedlings
1. Everyone Learns About Thinning
Whether you prefer to grow flowers or want to harvest vegetables, you’ll run into crowded seedlings at one point or another. Sometimes this happens when you sprinkle tiny seeds close together in a pot, but it can also occur when you bring home a tray or pellet of pre-planted seeds.
As the seedlings grow, they’ll compete for water and nutrients if they’re overcrowded. You won’t notice this if they’re a bunch of flowers, but you’ll intend to harvest from every vegetable plant. Competition prevents plants from thriving and producing, so everyone learns about thinning at some point in their gardening journey.
2. Start Earlier Than Later
Baby seedlings are the cutest things, so my heart hurts when I think about thinning them out. Still, it’s better to start the process earlier than later. The longer they overcrowd each other, the more at risk they become. Dense, packed roots and soil encourage harmful mold growth by preventing air circulation. If the seedlings don’t die for lack of nutrients, the mold will kill them before they’re big enough to move to pots or an in-ground garden.
3. Identify the Strongest Seedlings
My first few attempts at thinning weren’t very scientific. It consisted mostly of me apologizing profusely to my baby seedlings during and after the process. Now I know how to identify the most vigorous seedlings so they get their best chance at success.
Observe your tiny sprouts and look for thick stalks, vivid coloring, and immediate bounce-back after gently pushing on their leaves. The healthiest sprouts are already the strongest ones, so avoid thinning those out. Sometimes if there’s more than a few I want to keep, I’ll mark them with colorful threads or insert a toothpick into the soil next to the keepers.
4. Disinfect and Snip
Leave your gardening shears in the shed and use micro pruning snips to safely thin out one seedling at a time. Before you start cutting, make sure you disinfect your snips with rubbing alcohol. I didn’t do this at first, but it prevents mold and bacteria growth from infecting the connected root system that still feeds the seedlings you want to keep. Just be careful not to douse your plants, since the alcohol can burn the leaves and stunt growth if you have a sensitive plant like African violets.
5. Fertilize the Remaining Seedlings
After you pick out the thinned seedlings that you snipped away, fertilize whatever plants remain. Sometimes I would forget to do this, but it encourages new growth and shows your baby seedlings that they have less competition. The additional fertilization jump-starts any stunted development and aids your growing program if you intend to sell your crops by a specific date.
Record Your Progress
Learning to garden is a process of trial and error. I developed my green thumb faster by recording my progress in a journal. Write down why you chose to keep your seedlings, how much rubbing alcohol you used to cleanse your snips and which fertilizer you chose for your remaining plants. If something doesn’t work, you can alter one step at a time with future plants and figure out what went wrong with reflection.
These are the tips I wish I’d known about thinning seedlings because they make the entire process much more straightforward and easier to understand. You’ll get the hang of it with time, so don’t be afraid to try.
Bio:
Emily covers topics in sustainability and green living. You can read more of her work on her site, Conservation Folks.


Recent Posts
- Smart Gardening: How Technology Is Revolutionizing Horticulture
- Understanding Gardening Zones: What You Need to Know
- The Right Tools For Your Gardening And Landscaping Needs
- Maximizing Your Harvest: Square Foot Gardening Chart for Beginners
- Holiday Garden Scents: Plants for Natural Aromatherapy in Your Home